Showing posts with label Elegant Edges. Show all posts

Saturday, November 12, 2011

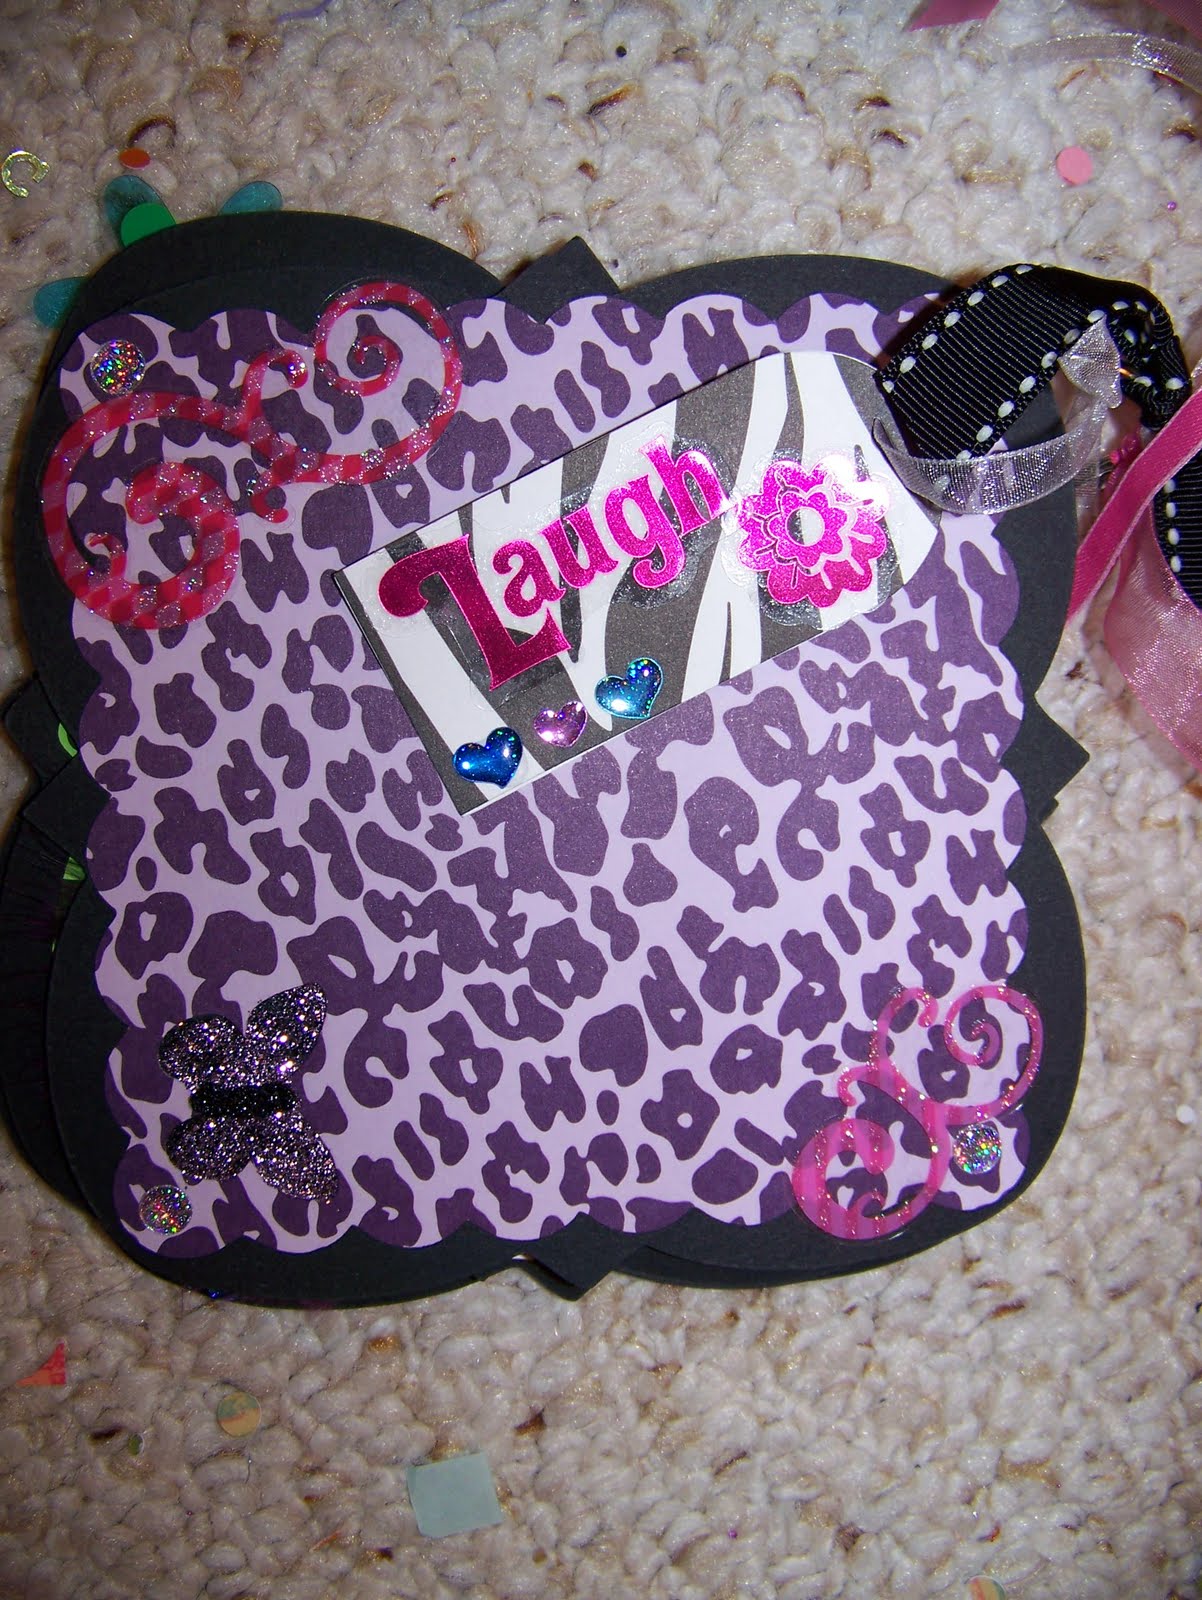
Tween Mini Album

Here's a shocker for you - I'm about to share ANOTHER mini - yep.  I am!

Welcome to this week's Scrapbook Saturday hosted by Erica's Cricut Craft Room - make sure you check out her blog to see the other fantastic posts my Design Team sisters have ready to share with you today!

I made the mini album puctured below with 5.5" cuts of black chipboard from Elegant Edges, the paper mats are also cut from Elegant Edges, and embelished with Sticko Stickers.  The top right corner is bound with a binder ring and covered with fibers from my stash and a tag cut from Tags Bags Boxes and More.    If you are interested, I still have three of these for sale for just $12 plus shipping, just email me at heatherhammen@hotmail.com and we'll work out the details!


As always, thank you for looking!  Have a great day!

Friday, September 16, 2011

Festive Friday!


Welcome! Thank you for stopping by today!  I am excited to share a project with you for Festive Friday hoseted by My Cricut Craft Room! Festive Friday is when the Designn Team Members show you our holiday related crafts using out cricut.  If you are one of my followers, be sure to jump over to My Cricut Craft Room to see more fabulously festive projects : ) 

Lately, I've been a little mini-album obsessed.  And today's post is no different!  I recently purchased the Elegant Edges cartridge and fell in love with all of the fun cuts!  That plus a huge sale on chipboard sheets at Joanns = mini album heaven!!!  Enjoy!

I usually make 4 books at a time, in a 6 x 6" size.  If you take 5 sheets of chipboard and get 4 cuts from each, you will yield four ten-paged books.  For this album I chose a cut I liked from Elegant Edges and cut 4 to a sheet x 5 sheets.

Then, I chose 10 pages of patterned paper (DCWV) 2 each of 5 designs and cut them at 5" for my photo mats.  I mixed up the mat designs but find the simpler ones to work better with this project.


The poinsettias were made with Wrap It Up, inked and bent.


To finish, I adhered the paper to the chiboard FIRST before punching a hole in the top with my Cropadial.  Then add a binder ring (I use 1").  Embelish with cricut cuts or stash you have on hand (what scrapper doesn't have a TON of extra christmas stickers and embelishments?!!?)  Adorn with ribbons and tags, ink the edges and VOILA!  Mini Album!  Super easy, super fast...  4 books took about 2 hours.

Thank you for taking the time to stop by today!  I hope you have enjoyed today's project!

Saturday, August 6, 2011

Erica's Cricut Craft Room 100 Cartridge Blog Hop!!!!

Welcome to My Cricut Craft Room's August 100 Cartridge Blog Hop.

You should have come here from the fabulous and talented Jackie Lodge's (Jack Rabbit Scrappin) page.  If not please start at the beginning at http://mycricutcraftroom.blogspot.com/.

Here is the fun projects I made to share with you this month!  For this project I have used the cartridges:
  • Elegant Edges
  • Mother's Day Bouquet
  • Sophisticated 
  • Tags Bags Boxes and More
Do you like mini books?  Lately I'm a little obsessed : )  I've decided to try and make 50 of them for an upcoming trade show, so we'll see how it goes : )  If you DO like mini albums, the Elegant Edges Cart is a MUST HAVE.  It makes the process SO fun and easy!  Mini Albums can be made by simply cutting chipboard into squares or using the cricut to cut out shapes into thinner chipboard.  Either can be embellished with a full coat of paper adhered by Mod-Podge or left "naked", like I did with the "Tween books below."  I make my books in sets of four and all are in 6 x 6 size. 

Here are the Tween Books:


I love that doodle-y trim!!!


The second set of books aren't quite done yet, but they have a more "shabby chic" feel to them and are accented with handmade flowers from Mother's Day Bouquet.  These Flowers are SO simple to make, just cut in various sizes and colors, wet a bit using inks (I used Walnut Ink), water, or glimmer mist crumple or bend, let dry, then put them together.  I just kind of do it haphazardly... playing around with which ones I think look best with what.  I also change up the centers, but when I'm making many, I tend to go for glitter glue, it's fast, easy and CHEAP : )

***Please note - I mix in Prima's here and there, but 95% are my handmades.

First some close ups of the flowers:


Flowers "In Action"

And here are some pictures of the other mini's I'm working on:


"Thankful" is from Sophisticated.


Please stop back by through out the week as I will be posting more pictures of these projects and the additional minis I'm working on.  I hope you have enjoyed my post today!  THANK YOU SO MUCH for taking the time to stop by : )

Next you should go to Heather F's Blog http://www.papercrafteranonymous.com