Showing posts with label Mother's Day Bouquet. Show all posts

Saturday, August 6, 2011

Erica's Cricut Craft Room 100 Cartridge Blog Hop!!!!

Welcome to My Cricut Craft Room's August 100 Cartridge Blog Hop.

You should have come here from the fabulous and talented Jackie Lodge's (Jack Rabbit Scrappin) page.  If not please start at the beginning at http://mycricutcraftroom.blogspot.com/.

Here is the fun projects I made to share with you this month!  For this project I have used the cartridges:
  • Elegant Edges
  • Mother's Day Bouquet
  • Sophisticated 
  • Tags Bags Boxes and More
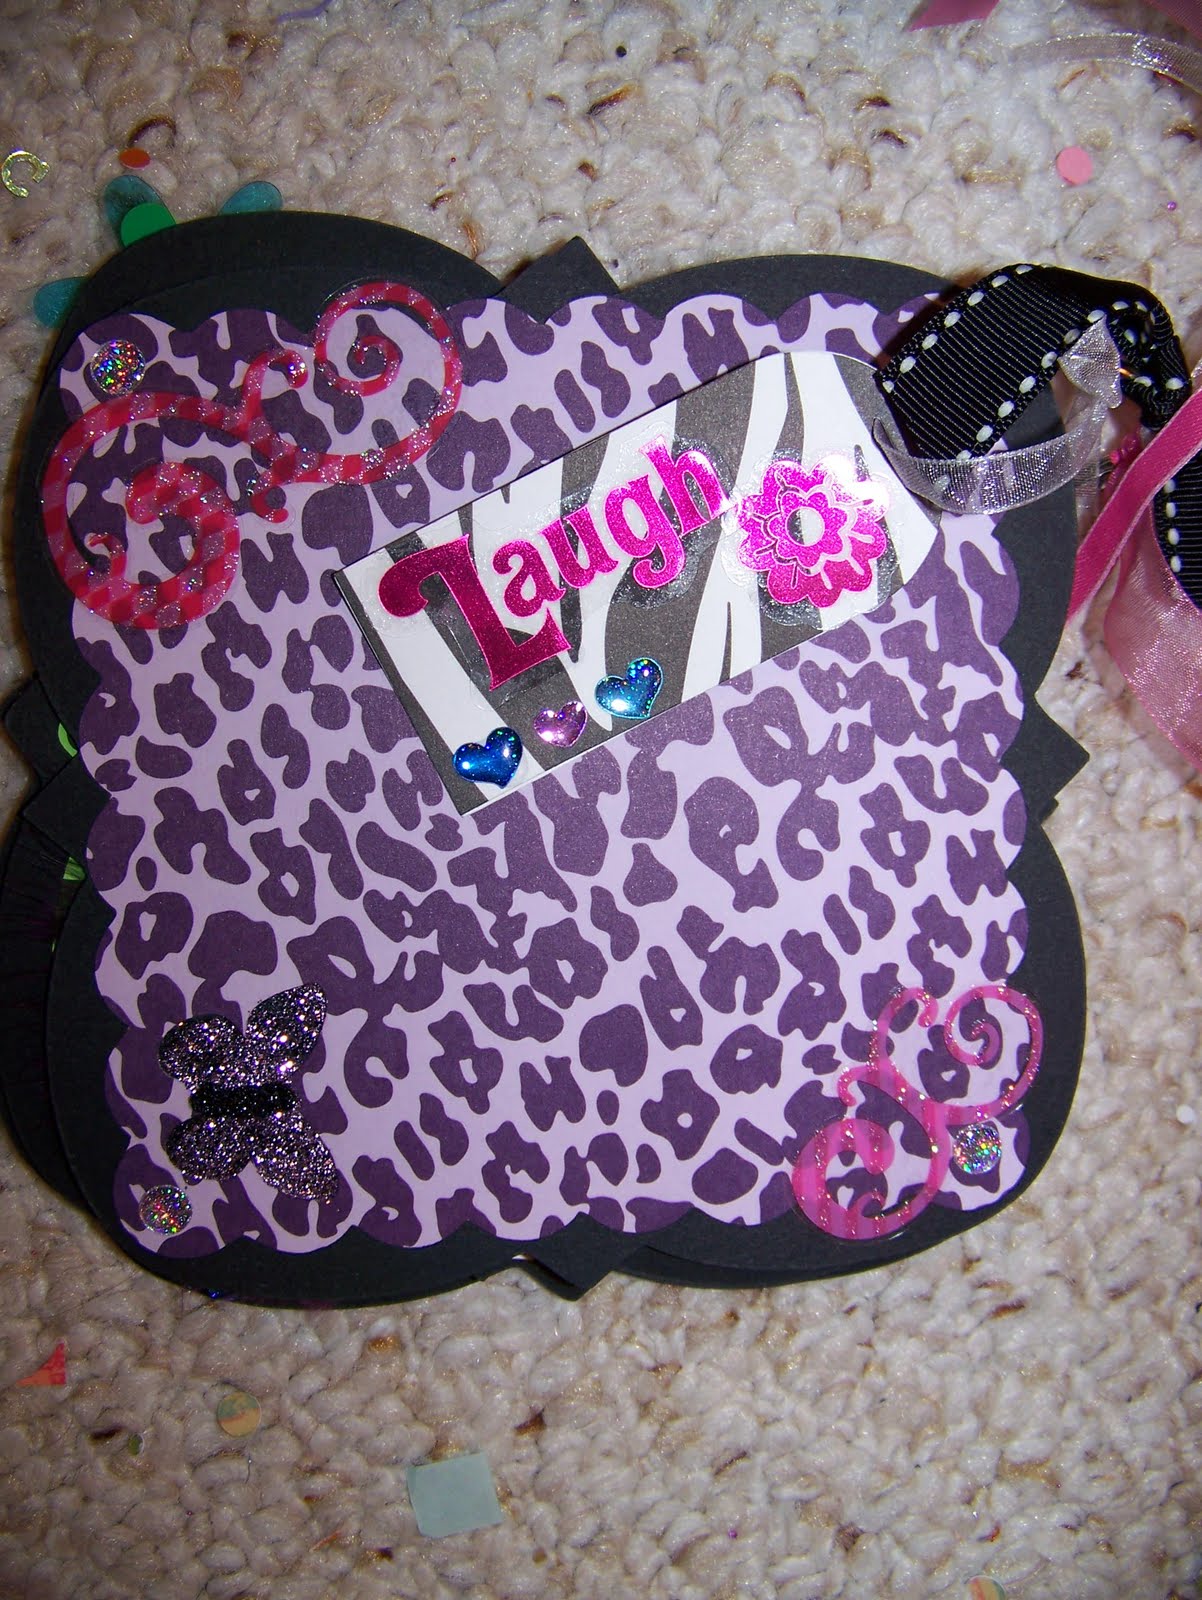
Do you like mini books?  Lately I'm a little obsessed : )  I've decided to try and make 50 of them for an upcoming trade show, so we'll see how it goes : )  If you DO like mini albums, the Elegant Edges Cart is a MUST HAVE.  It makes the process SO fun and easy!  Mini Albums can be made by simply cutting chipboard into squares or using the cricut to cut out shapes into thinner chipboard.  Either can be embellished with a full coat of paper adhered by Mod-Podge or left "naked", like I did with the "Tween books below."  I make my books in sets of four and all are in 6 x 6 size. 

Here are the Tween Books:


I love that doodle-y trim!!!


The second set of books aren't quite done yet, but they have a more "shabby chic" feel to them and are accented with handmade flowers from Mother's Day Bouquet.  These Flowers are SO simple to make, just cut in various sizes and colors, wet a bit using inks (I used Walnut Ink), water, or glimmer mist crumple or bend, let dry, then put them together.  I just kind of do it haphazardly... playing around with which ones I think look best with what.  I also change up the centers, but when I'm making many, I tend to go for glitter glue, it's fast, easy and CHEAP : )

***Please note - I mix in Prima's here and there, but 95% are my handmades.

First some close ups of the flowers:


Flowers "In Action"

And here are some pictures of the other mini's I'm working on:


"Thankful" is from Sophisticated.


Please stop back by through out the week as I will be posting more pictures of these projects and the additional minis I'm working on.  I hope you have enjoyed my post today!  THANK YOU SO MUCH for taking the time to stop by : )

Next you should go to Heather F's Blog http://www.papercrafteranonymous.com 

Sunday, June 12, 2011

A few cards... and a family update

Wow.  To say its been a rough week would be an understatement.  Last week my daughter started to complain of a pain in her stomach and generally not feeling well.  It got to the point where she asked if I would take her to Patient First or something...  No.  What are they going to do for a stomach ache really?  Let's try some ibuprophen and see if you feel any better.  Not at all.  In fact it got worse, so bad that we wound up taking her to the ER where we found out that she would need to have an emergency appendectomy.  None of us slept for almost two days.  My poor angel missed out on some really fun end of the year activities at school, and even though this is the last week of school, she is likely to miss more ; (  She's really bummed out about it.  She's recovering well from the laproscopic procedure and is healing pretty fast.  She's still in a decent amount of pain though.  My poor baby : (

I've had a lot of projects happening at the same time as well.  In the last few days, I've wrapped up a vinyl project (turned out so cute!!), a canvas project, and my first banner.  Pictures of all of that coming soon, but since I don't have them on hand yet, I thought I'd share some cards I have worked on.  As always, thanks for looking!

Made with Opposites Attract and Mother's Day Bouquet
                                     

Made using Stretch Your Imagination
 Made using Home Decor.  Total Scraplift : )  I wish I could give credit to the original artist!

Made using Alphalicious and Mother's Day Bouquet
 No Cricut use...  just basic circles and a circle punch ; )

Monday, June 6, 2011

Mom Mom's Brag Book

I made this album as a gift for my mom for Mother's Day.  She now has three grandchildren so I thought she'd find this useful : )  Similar to Ashley's Album, I wanted to try to hand make as many of the embellishments as possible.  In the process of this I "discovered" Walnut Ink and alcohol ink.  Oh. My. Gosh.  What rock have I been hiding under?  I've known about it forever, but I've never beden interested in trying it.  Now that I have I'm totally hooked!    I hope you have all had a great day today - thanks for reading and letting me know what you think!


Sunday, June 5, 2011

Scrappy Girl

My favorite thing to do is create scrapbooks.  I love to make complete, themed albums and I really feel honored when I am asked to make one for someone else, or when someone I love is really touched by a personalized gift.  This album was made for my neice Ashley, who was just born on April 4 and it was my first attempt at using my Your Story binding machine, which I got for a SONG at http://www.cricutmachine.com/ .  I LOVE that place for their awesome prices on cartridges and supplies.  ***Ahem....  hear that cricut machine?  lol***  The  front cover was decorated using a stencil and some pink chalk.  I took Ashlyn's Alphabet and used it to cut a cereal box (cheap chipboard!!!) and then out of paper.  Cereal boxes do not need a deep cut housing blade and cut very nicely if you use a slow speed and the highest pressure setting.  I decided to adhere yellow cardstock to the back of the front cover, so that a picture could be interted into the front (that's the black line you see when the book is opened.  I had two goals when creating this book: to make ALL of the embellishments (or as many as possible) on the Cricut and to use only supplies I had on hand.  NO new purchasing, lol.  I really need to clean my scraproom out!!!  As I built the book, I realized it was becoming quite thick!  So I attached ribbon inside of the covers to tie it all together.  My sister in law loved the book, and I'm looking forward to gifting more!  Thanks for looking!


Operation Write Home

I follow the My Cricut Craft Room blog amost daily : )  Well her FB posts anyway : )  Erica is awesome and the information she posts is both educational and inspirational!  Recently, she posted a call to action:  Participate in Operation Write Home.  Prior to reading about this, I had no idea about the service, which collects hand made cards and then ships them to soldiers who can then choose from the ones the like to write in and send home.  What a great idea!  And though Memorial Day is a day of rememberance and appreciation for those who have fought and died for our freedom (not active service members), I decided to participate in their honor.


I loved this last one, but I thing the pearl would make it too bulky to be able to withstand international mail.  I'm putting this one in my back pocket though.  I love making the 3-D flowers...I might have to do a tutorial on them at some point. 

Thanks for looking and have a great rest of your day!

Saturday, June 4, 2011

Bird Canvas Art


I'm not a painter, but I do like to play with paint.  I've been wanting to work on something with canvas for a while, and on a recent blog tour I came across this project at http://www.ashleyannphotography.com/Click here for a link to her project.  She's crazy talented, and I was inspired to create something with some cute papers I had on hand from DCWV and a pair of canvases I got on sale at Michaels for a total of $4.50!!!  Such a deal!  The leaves are cut at 1.5 and 2 inches using the Mother's Day Bouquet cart (one of my favs as you will see) and I used the flip function on my Expression for half of them.  Once cut, I used Mod Podge to seal the paper to the canvas.  (****BEGINNERS TIP****  I wasn't sure if I should use Mod Podge over the whole canvas after....I'm a newbie to it and didn't know how it would dry.  I didn't and should have!)  The branches were drawn freehand with pencil, then painted over with dark brown acrylic paint.  I LOVE how these turned out, and I'm anxious to make more fun stuff using canvas!