Showing posts with label Handmade Flowers. Show all posts

Monday, October 10, 2011

Jesus Knows Me This I Love canvas work

So excited to get to share this with all of you.  A few months ago, my mom found this play-on-words-phrase and asked me if I would make her a sign with it.  I conveniently forgot and decided I would make it for her birthday or for Christmas.  Turns out I found the mojo to make it for her birthday.  Armed with cheap canvas and a box of old paint, some mod podge, and my Cricut, I set to work.


I used Cricut Craft Room to weld the words "knows" and "love" and to create the general shape and feel of the canvas layout.  I started with a blank canvas not knowing why some canvases cost more than others (so I bought the cheap stuff... worked fine), I learned though that the lesser quality canvases "drink in" the paint more and it took several coats to get even adequate coverage.  The first layer was done with a tan color, then I took a lighter cream color and kind of swirled it around the corners to give some variation and deph to the color.  Once it was dry, I took my cuts crom my cricut that I made on vinyl and layed it out on my canvas.  I made sure it was stuck down very well and then painted over the vinyl with the tan again to create a "seal" of paint around the letters.  Then I had at it with the blue.  Painted the whole thing then let it dry.  Then I peeled off the vinyl, exposing the tan letters.  I still felt that the overall look was a little bland and needed more depth, so I took some Walnut Ink, sprayed it onto a paper towel (not recommended, I'm certain I wasted a lot of ink...  felt next time maybe?) and brushed the brown ink across the whole canvas, giving it a varied-aged-coffee-stained effect.  ThenI gave it a generous coating of Glossy Mod Podge.  While that was drying I decided to make some flowers to give the work some dimension.  I LOVE the Flower Shoppe cartridge - there are so many options with it!  This is the "fun" flower cut at 4" and at 1 and 3/4"  Each flower piece was wet, crumpled, inked, heat dried then pieced together.   Lastly, the flowers were hot glued to the canvas.


As always, thank you for looking.  Have a great day!

Saturday, August 6, 2011

Erica's Cricut Craft Room 100 Cartridge Blog Hop!!!!

Welcome to My Cricut Craft Room's August 100 Cartridge Blog Hop.

You should have come here from the fabulous and talented Jackie Lodge's (Jack Rabbit Scrappin) page.  If not please start at the beginning at http://mycricutcraftroom.blogspot.com/.

Here is the fun projects I made to share with you this month!  For this project I have used the cartridges:
  • Elegant Edges
  • Mother's Day Bouquet
  • Sophisticated 
  • Tags Bags Boxes and More
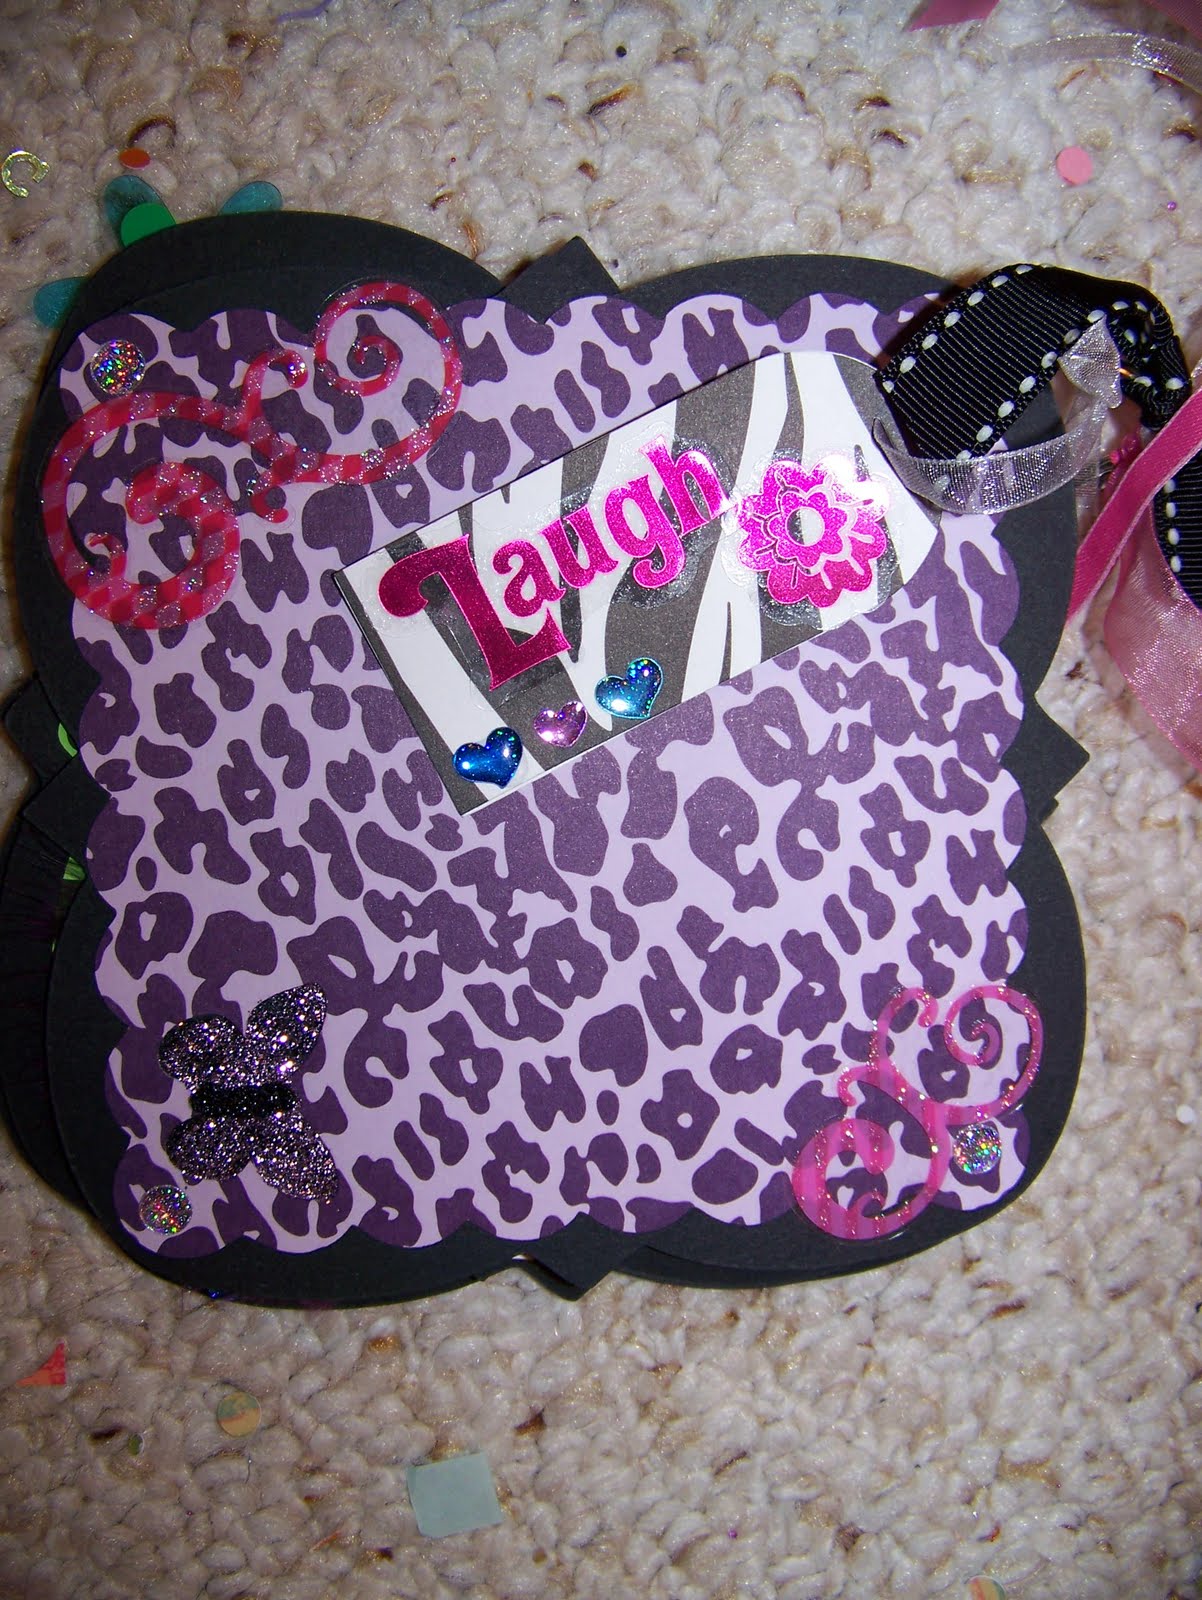
Do you like mini books?  Lately I'm a little obsessed : )  I've decided to try and make 50 of them for an upcoming trade show, so we'll see how it goes : )  If you DO like mini albums, the Elegant Edges Cart is a MUST HAVE.  It makes the process SO fun and easy!  Mini Albums can be made by simply cutting chipboard into squares or using the cricut to cut out shapes into thinner chipboard.  Either can be embellished with a full coat of paper adhered by Mod-Podge or left "naked", like I did with the "Tween books below."  I make my books in sets of four and all are in 6 x 6 size. 

Here are the Tween Books:


I love that doodle-y trim!!!


The second set of books aren't quite done yet, but they have a more "shabby chic" feel to them and are accented with handmade flowers from Mother's Day Bouquet.  These Flowers are SO simple to make, just cut in various sizes and colors, wet a bit using inks (I used Walnut Ink), water, or glimmer mist crumple or bend, let dry, then put them together.  I just kind of do it haphazardly... playing around with which ones I think look best with what.  I also change up the centers, but when I'm making many, I tend to go for glitter glue, it's fast, easy and CHEAP : )

***Please note - I mix in Prima's here and there, but 95% are my handmades.

First some close ups of the flowers:


Flowers "In Action"

And here are some pictures of the other mini's I'm working on:


"Thankful" is from Sophisticated.


Please stop back by through out the week as I will be posting more pictures of these projects and the additional minis I'm working on.  I hope you have enjoyed my post today!  THANK YOU SO MUCH for taking the time to stop by : )

Next you should go to Heather F's Blog http://www.papercrafteranonymous.com