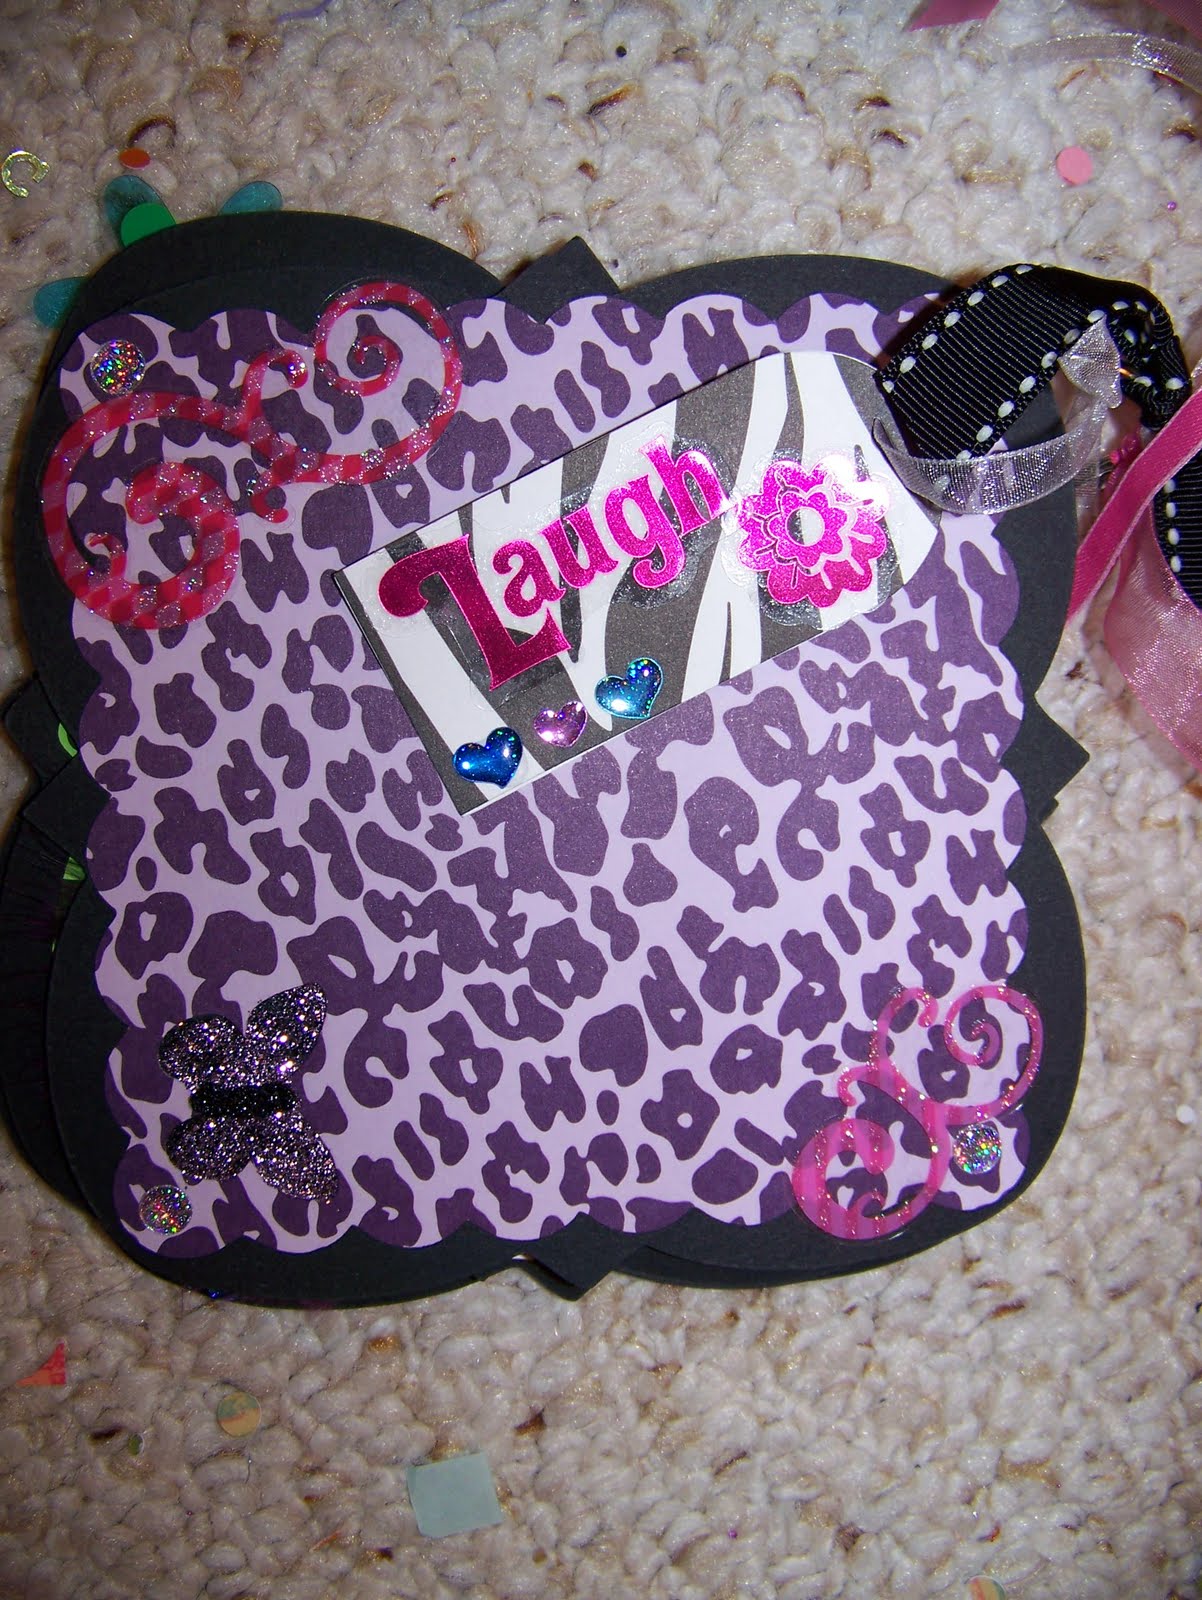
Just so no one dies from shock or anything.... I MIGHT ACTUALLY POST SOMETHING THAT IS NOT A MINI ALBUM THIS WEEKEND!!!!!! Wooo! LOL If you are a follower, lookforward to my participation in a 100 Cricut Cartridge Blog hop that takes place this Saturday and Sunday. There will be prizes from the hostess!
Since I'm here, check out these super cute and VERY easy to make headbands! I ordered the headbands and silk flowers off of Ebay, glued them together, and voila. The ribbon ones were made with a Bow Easy. VERY cool little tool and if you don't have one, I highly suggest looking it up and paying the $5 or so it costs to order it - WELL worth the money. I never made bows and now I make them for everything : ) Comment below if you would like to see a future tutorial on using the Bow Easy, and I'll be glad to put something together if I get that feedback.
Thank you, as always, for stopping by, looking forward to my post this weekend! I can't wait to share it with you!
OPERATION: Cricut Design... are YOU OCD??? Welcome to my blog! I created this as a way to showcase, share, and catalog my work. I hope you enjoy what you see! Most of my mini albums are available for purchase on my website and I am always excited to receive requests for custom orders for complete albums, invitations, banners, or any other idea you have. Check out my business page at www.HSipesStudio.com
Friday, September 30, 2011
Tuesday, September 27, 2011
Would You Guess Wednesdays with Cricut Craft Room!
Hi! Back again sharing another post as a Design Team member for Cricut Craft Room! Please head back to her page and check out the other fab posts from today for interesting outside-of-the-box ideas for how to use your cartridges!
I decided to share, what I think it a pretty odd use of the Wrap It Up cartridge. I've been using this cart a LOT lately because the cuts and phrases on it are great for so much more than just for gift boxes and little bags (though they are super cute too!).
Aaaaaaand... you guessed it. ANOTHER mini (sorry!!) but it's my blog and I'll do what I want *wink*.
This one is made using the onsie cut from this cartridge. I felt that it was just slightly too narrow, so I used CCR to widen it a little bit and maximize the space when cutting - I cut 4 to a 12 x 12 sheet. My first attempt involved using ModPodge to adhere and it looked AWFUL. so, round two, I used a good old elmers glue stick. Worked AWESOMELY. I really like how there is a differentiation from the front and the back of these super cute onsies. This is a great and really simple gift to throw together for a shower and give away as a gift! Please let me know if you have any questions! Thanks for looking!
A few variations:
| Teddy bear cut is from A Child's Year |
Have a happy scrappy day! Thanks again for stopping by and make sure you check out the new Shop at Cricut Craft Room!
Saturday, September 24, 2011
School Days - Scrapbook Saturday with My Cricut Craftroom!
Welcome! I am excited to share a project I made for My Cricut Craft Room's Scrapbook Saturday. If you stopped by today because you are a follower (thanks!!) please check out the other posts on Erica's page. There is some fantastic talent being shared with this group! Also, Erica recently opened a store, and I'll tell you that her prices for scrapbooking supplies can't be beat. Check her out again later this week as she will be filling up the rest of her inventory!
Ok! Onto this week's project!
I decided I wanted to try my hand at making a paper bag album - I had made them a LOOOONG time ago and used to give them as shower gifts. Now I have all kinds of cool tools to make them with : ) Take a look at the pictures and I'll walk you through the process.
First, you start with three paper bags and lay them opposite of each other, one up, one down one up. Fold them in half. I used the crop a dial to punch two holes and put in two large eyelets for the binding. I cut 12 sheets of 5 x 5 coordinating papers and ran them through my xyron to make them more sturdy and easy to adhere, and then applied them to the book. Everything else were simply cricut cuts and embelishments! I ran colored ribbon through the eyelets to complete the binding and made little slider cards to pop out of the open spaces in the bags. Enjoy, and thanks for looking!
Thanks again for looking, please let me know if you have any questions. If you would rather buy than make this album, I have it for sale in my Etsy Shop! Have a great day!
Ok! Onto this week's project!
I decided I wanted to try my hand at making a paper bag album - I had made them a LOOOONG time ago and used to give them as shower gifts. Now I have all kinds of cool tools to make them with : ) Take a look at the pictures and I'll walk you through the process.
First, you start with three paper bags and lay them opposite of each other, one up, one down one up. Fold them in half. I used the crop a dial to punch two holes and put in two large eyelets for the binding. I cut 12 sheets of 5 x 5 coordinating papers and ran them through my xyron to make them more sturdy and easy to adhere, and then applied them to the book. Everything else were simply cricut cuts and embelishments! I ran colored ribbon through the eyelets to complete the binding and made little slider cards to pop out of the open spaces in the bags. Enjoy, and thanks for looking!
| School Days cut from Nate's ABC's, Apple is from Wrap It Up |
| Pencil is Nate's ABCs |
| Glue is Nate's ABCs |
| Books are Wrap it Up |
| Bus is Nate's ABCs |
Thanks again for looking, please let me know if you have any questions. If you would rather buy than make this album, I have it for sale in my Etsy Shop! Have a great day!
Friday, September 16, 2011
Festive Friday!

Welcome! Thank you for stopping by today! I am excited to share a project with you for Festive Friday hoseted by My Cricut Craft Room! Festive Friday is when the Designn Team Members show you our holiday related crafts using out cricut. If you are one of my followers, be sure to jump over to My Cricut Craft Room to see more fabulously festive projects : )
Lately, I've been a little mini-album obsessed. And today's post is no different! I recently purchased the Elegant Edges cartridge and fell in love with all of the fun cuts! That plus a huge sale on chipboard sheets at Joanns = mini album heaven!!! Enjoy!
I usually make 4 books at a time, in a 6 x 6" size. If you take 5 sheets of chipboard and get 4 cuts from each, you will yield four ten-paged books. For this album I chose a cut I liked from Elegant Edges and cut 4 to a sheet x 5 sheets.
Then, I chose 10 pages of patterned paper (DCWV) 2 each of 5 designs and cut them at 5" for my photo mats. I mixed up the mat designs but find the simpler ones to work better with this project.
| The poinsettias were made with Wrap It Up, inked and bent. |
To finish, I adhered the paper to the chiboard FIRST before punching a hole in the top with my Cropadial. Then add a binder ring (I use 1"). Embelish with cricut cuts or stash you have on hand (what scrapper doesn't have a TON of extra christmas stickers and embelishments?!!?) Adorn with ribbons and tags, ink the edges and VOILA! Mini Album! Super easy, super fast... 4 books took about 2 hours.
Thank you for taking the time to stop by today! I hope you have enjoyed today's project!
Friday, September 2, 2011
My Cricut Craft Room's 100 Cartridge Blog Hop!!!!
Welcome to My Cricut Craft Room's 100 Cartridge Blog Hop!!!!
You should have come from the fabulous and talented Heather F.'s blog, http://www.papercrafteranonymous.com/. If you did not please start at the beginning of the hop at
http://mycricutcraftroom.blogspot.com/. Thanks for hopping along this weekend, and good luck on winning some of the fab prizes up for grabs!!!
Today, I'd like to share a project with you made using Nate's ABCs. Being the mom of a 3 year old little boy, I HAD to get my hands on this cartridge! It's filled with tons of fun detailed images, and I thought putting some together for a few mini albums I would sell at several upcoming trade shows. If you like what you see, I invite you to become a follower and check back as I continue to post the projects I have feverishly been working on over the last couple of months!
Here are pictures of the Mini Album using Nate's ABCs. The "recipe" is below. Enjoy, and thanks in advance for looking!
![]() |
| I cut the paper yo yo string in favor of using tied twine. The image on the tag is from A Child's Year. |
Supplies:
- 12x12 black chipboard cut down to 6 x 6 blocks (Five 12 x 12 sheets cut down yields four five-paged books)
- DCWV paper
- I used DCWV adhesive paper for the cuts in this project simply because I had it on hand and wanted to use it up, it certainly made it easier!
- The "dots" at the corners of some mats are simply punched from coordinating paper from my largest hole punch.
- Cuts are made at 2" and are NOT secured with adhesive over the photo mat (this is important if the book is a gift or pre-made)
- I used the super-duper Cropadial to punch the holes in the top right corner AFTER completing the book, and secured the book together with a 1" book binding ring.
- Journaling tags are given binder divider labels for a fun look.
Next you should go to HOLLY at http://hollys-hobbie.blogspot.com/ . I can't wait to see what she has to show us today! Happy Hopping!
If you get lost along the way here is the entire line-up
1. My Cricut Craft Room http://mycricutcraftroom.blogspot.com
3. April http://curlsandgrins.blogspot.com/
4. Melissa http://pinkpolkadotscrapping.blogspot.com
5. My Project http://mycricutcraftroom.blogspot.com/2011/09/my-project-for-100-cartridge-blog-hop.html
6. Pattie http://sweetpsscrapbooks.blogspot.com/
7. Patricia http://micraftygal.blogspot.com/
9. Rosa http://kleymanr.blogspot.com/
10. Samantha http://samanthascricutcreations.blogspot.com/
11. Sharon http://simplysweetbysharon.blogspot.com/
12. Shelly http://kccroppers.blogspot.com/
13. Suzy's Crafts http://suzyssimplecrafts.blogspot.com/
14. Tammy S. http://thepurplemuse.blogspot.com
15. Tanya http://nonnascraftcorner.blogspot.com/
19. Giveaway http://mycricutcraftroom.blogspot.com/2011/09/surprise-giveaway-saturday-september-3.html
20. Autumn http://autumnsbuggycreations.blogspot.com/
21. Connie http://conniescraftycloset.blogspot.com/
22. Courtney http://craftingwithcourtney.blogspot.com/
23. Gayle http://gscraptime.blogspot.com/
24. Heather F http://www.papercrafteranonymous.com/
26. Holly http://hollys-hobbie.blogspot.com/
27. Jen R. http://memorieswithjen.blogspot.com/
28. Jenny R http://myimagitivity.blogspot.com/
29. Laura http://laurascraftsandmore.blogspot.com/
31. Karey http://www.creativecraftcorner.com/
33. Lezlye http://lezlyes.blogspot.com/
34. Lucinda http://thegrowinggibson.blogspot.com/
35. Blog Candy http://mycricutcraftroom.blogspot.com/2011/09/reserved-for-this-weekends-blog-candy.html
Saturday, August 20, 2011
Interactive Card Hop
I hope you are enjoying today's blog hop! I know I will be learning alot as I browse through everyone's talented cards! For those of you that haven't visited my page before, welcome!
I have a secret to share.... I'm not a card maker. I CAN make cards... and do on occasion, but my main passion is scrapbooking. That being said I love a good challenge and when I learned about today's hop, I wanted in. Pop Up Twirl card? What is that? A sliding ladder? Interesting! Count me in I said. Not knowing what any were I bravely asked to be assigned to a card and then looked up some tutorial and watched some viseos on how to make them. I watched and said - HA! Easy-Peasy! I can do that!
Er. That is, I THOUGHT I could do it. My project turned out to be what my 13 year old would call an "Epic Fail". There are paper scraps everywhere... splinter shards, glue in my hair, and about four different cricut cartridges laying on my floor. Yeah, I'm a messy scrapper and it usually works for me. Tonight, however, no go. So sorry to dissapoint, but I cannot discrace this hop with the tangled mess of paper and twine that sits upon my desk.
If you would like to learn about how to make a Pop Up Twirl Card, there is a very easy to follow tutorial by Split Coast Stampers which can be found here. I hope that I haven't offended and that you choose to check out some of my other projects so that you see that I'm not a total dud : )
Next on the hop is Angie at http://atuttletime.blogspot.com/ Enjoy!
Saturday, August 6, 2011
Erica's Cricut Craft Room 100 Cartridge Blog Hop!!!!
Welcome to My Cricut Craft Room's August 100 Cartridge Blog Hop.
You should have come here from the fabulous and talented Jackie Lodge's (Jack Rabbit Scrappin) page. If not please start at the beginning at http://mycricutcraftroom.blogspot.com/.
Here is the fun projects I made to share with you this month! For this project I have used the cartridges:
Here are the Tween Books:

You should have come here from the fabulous and talented Jackie Lodge's (Jack Rabbit Scrappin) page. If not please start at the beginning at http://mycricutcraftroom.blogspot.com/.
Here is the fun projects I made to share with you this month! For this project I have used the cartridges:
- Elegant Edges
- Mother's Day Bouquet
- Sophisticated
- Tags Bags Boxes and More
Here are the Tween Books:
I love that doodle-y trim!!!
The second set of books aren't quite done yet, but they have a more "shabby chic" feel to them and are accented with handmade flowers from Mother's Day Bouquet. These Flowers are SO simple to make, just cut in various sizes and colors, wet a bit using inks (I used Walnut Ink), water, or glimmer mist crumple or bend, let dry, then put them together. I just kind of do it haphazardly... playing around with which ones I think look best with what. I also change up the centers, but when I'm making many, I tend to go for glitter glue, it's fast, easy and CHEAP : )
***Please note - I mix in Prima's here and there, but 95% are my handmades.
First some close ups of the flowers:
Flowers "In Action"
And here are some pictures of the other mini's I'm working on:
"Thankful" is from Sophisticated.
Please stop back by through out the week as I will be posting more pictures of these projects and the additional minis I'm working on. I hope you have enjoyed my post today! THANK YOU SO MUCH for taking the time to stop by : )
Next you should go to Heather F's Blog http://www.papercrafteranonymous.com
Subscribe to:
Posts (Atom)