Hello! I am excited to share a new feature as part of Erica's Design Team projects we are now posting themed projects, daily cartridge explorations, and in December TWENTY FIVE projects a DAY! Whew! I am exited to say that I will have approximatly TWENTY posts between now and Christmas! So I hope that I don't overwhelm you!
Once you are done checking out this post, make sure you stop back at Erica's My Cricut Craft Room to see what my DT sisters are up to today and if you haven't picked up yourself something special yet - check out the awesome deals she has going on at her store!
So here is my project! I was askked to create some custom work for a friend's daughter's bedroom, as her name is impossible to find - there is more to share with this project that I will be posting later in December - a full out Soccer Wall for a girl! These pictures show the process of the placement of the vinyl after it was cut, and then once it was adhered.
I love the feminine look of the font in this cart! Thank you so much for looking! If you have any questions, please let me know, I'll be glad to answer them. Have a great day!
OPERATION: Cricut Design... are YOU OCD??? Welcome to my blog! I created this as a way to showcase, share, and catalog my work. I hope you enjoy what you see! Most of my mini albums are available for purchase on my website and I am always excited to receive requests for custom orders for complete albums, invitations, banners, or any other idea you have. Check out my business page at www.HSipesStudio.com
Monday, November 28, 2011
Sunday, November 13, 2011
Card Creating Sunday!
Hi! Two posts in a row! I'm out of control!
Today's post is part of Erica's My Cricut Craft Room's Card Creating Sunday. Please make sure to check out her blog today to see the other fantastic creations my Design Team sisters have created to share with you!
So.... I'm not a big card maker. I'll MAKE them, but I'm more of a scrapbooker. But with all of the incredible toys I have at my disposal, buying cards at the store seems like a silly thing to do. Not to mention, my family sees me make projects and things for others all of the time. I want them to know that they are worthy of my time and effort on a hand made project too.
My Husband? He's a MAJOR card guy. He'll spend hours picking out just the right card, that says just the right thing - they matter a lot to him - what the cards say, whether its funny or serious each card has a point that comes from his heart. Not just cards for me either - he's like that for anyone he buys a card for.... they LOVE him at the Halmark store : )
So for our 5th anniversary, I wanted to make him something that was meaningful, something he would appreciate. I used Sophisticated to cut a 5 in black and a white shadow at around 4.5". Then I used a punch to make the black arrow which points down and placed ot on a damask paper (Recollections) with a blue band (these were the colors used in our wedding). So, the front of the card reads, "Five Down". Inside I wrote, "and forever to go." I listed at the top of the card my five favorite things about being married to him - some funny some serious, all true : )
This card idea could be incorporated for any anniversary year and could be done with or without the list. I thank you for taking the time to read my story today and check out my card - you make my day when you stop by!!
Have a great day today!
Today's post is part of Erica's My Cricut Craft Room's Card Creating Sunday. Please make sure to check out her blog today to see the other fantastic creations my Design Team sisters have created to share with you!
So.... I'm not a big card maker. I'll MAKE them, but I'm more of a scrapbooker. But with all of the incredible toys I have at my disposal, buying cards at the store seems like a silly thing to do. Not to mention, my family sees me make projects and things for others all of the time. I want them to know that they are worthy of my time and effort on a hand made project too.
My Husband? He's a MAJOR card guy. He'll spend hours picking out just the right card, that says just the right thing - they matter a lot to him - what the cards say, whether its funny or serious each card has a point that comes from his heart. Not just cards for me either - he's like that for anyone he buys a card for.... they LOVE him at the Halmark store : )
So for our 5th anniversary, I wanted to make him something that was meaningful, something he would appreciate. I used Sophisticated to cut a 5 in black and a white shadow at around 4.5". Then I used a punch to make the black arrow which points down and placed ot on a damask paper (Recollections) with a blue band (these were the colors used in our wedding). So, the front of the card reads, "Five Down". Inside I wrote, "and forever to go." I listed at the top of the card my five favorite things about being married to him - some funny some serious, all true : )
This card idea could be incorporated for any anniversary year and could be done with or without the list. I thank you for taking the time to read my story today and check out my card - you make my day when you stop by!!
Have a great day today!
Saturday, November 12, 2011
Tween Mini Album
Here's a shocker for you - I'm about to share ANOTHER mini - yep. I am!
Welcome to this week's Scrapbook Saturday hosted by Erica's Cricut Craft Room - make sure you check out her blog to see the other fantastic posts my Design Team sisters have ready to share with you today!
I made the mini album puctured below with 5.5" cuts of black chipboard from Elegant Edges, the paper mats are also cut from Elegant Edges, and embelished with Sticko Stickers. The top right corner is bound with a binder ring and covered with fibers from my stash and a tag cut from Tags Bags Boxes and More. If you are interested, I still have three of these for sale for just $12 plus shipping, just email me at heatherhammen@hotmail.com and we'll work out the details!
As always, thank you for looking! Have a great day!
Welcome to this week's Scrapbook Saturday hosted by Erica's Cricut Craft Room - make sure you check out her blog to see the other fantastic posts my Design Team sisters have ready to share with you today!
I made the mini album puctured below with 5.5" cuts of black chipboard from Elegant Edges, the paper mats are also cut from Elegant Edges, and embelished with Sticko Stickers. The top right corner is bound with a binder ring and covered with fibers from my stash and a tag cut from Tags Bags Boxes and More. If you are interested, I still have three of these for sale for just $12 plus shipping, just email me at heatherhammen@hotmail.com and we'll work out the details!
As always, thank you for looking! Have a great day!
Saturday, November 5, 2011
100 Cartridge Blog Hop!
Woops! I managed to double book hops this weekend! If you are here for the Show Me Your Craft Room Hop, CLICK HERE!
If you are here for the 100 Cartridge Blog Hop, hosted my My Cricut Craft Room! Welcome!!! You should have been sent to my page by the fabulous and talented Tracy's Blog. If you didn't, please see the blog line up at the bottom of this page and start from the beginning. There are TWO days and over 100 cartridges featured! You won't want to miss a thing!
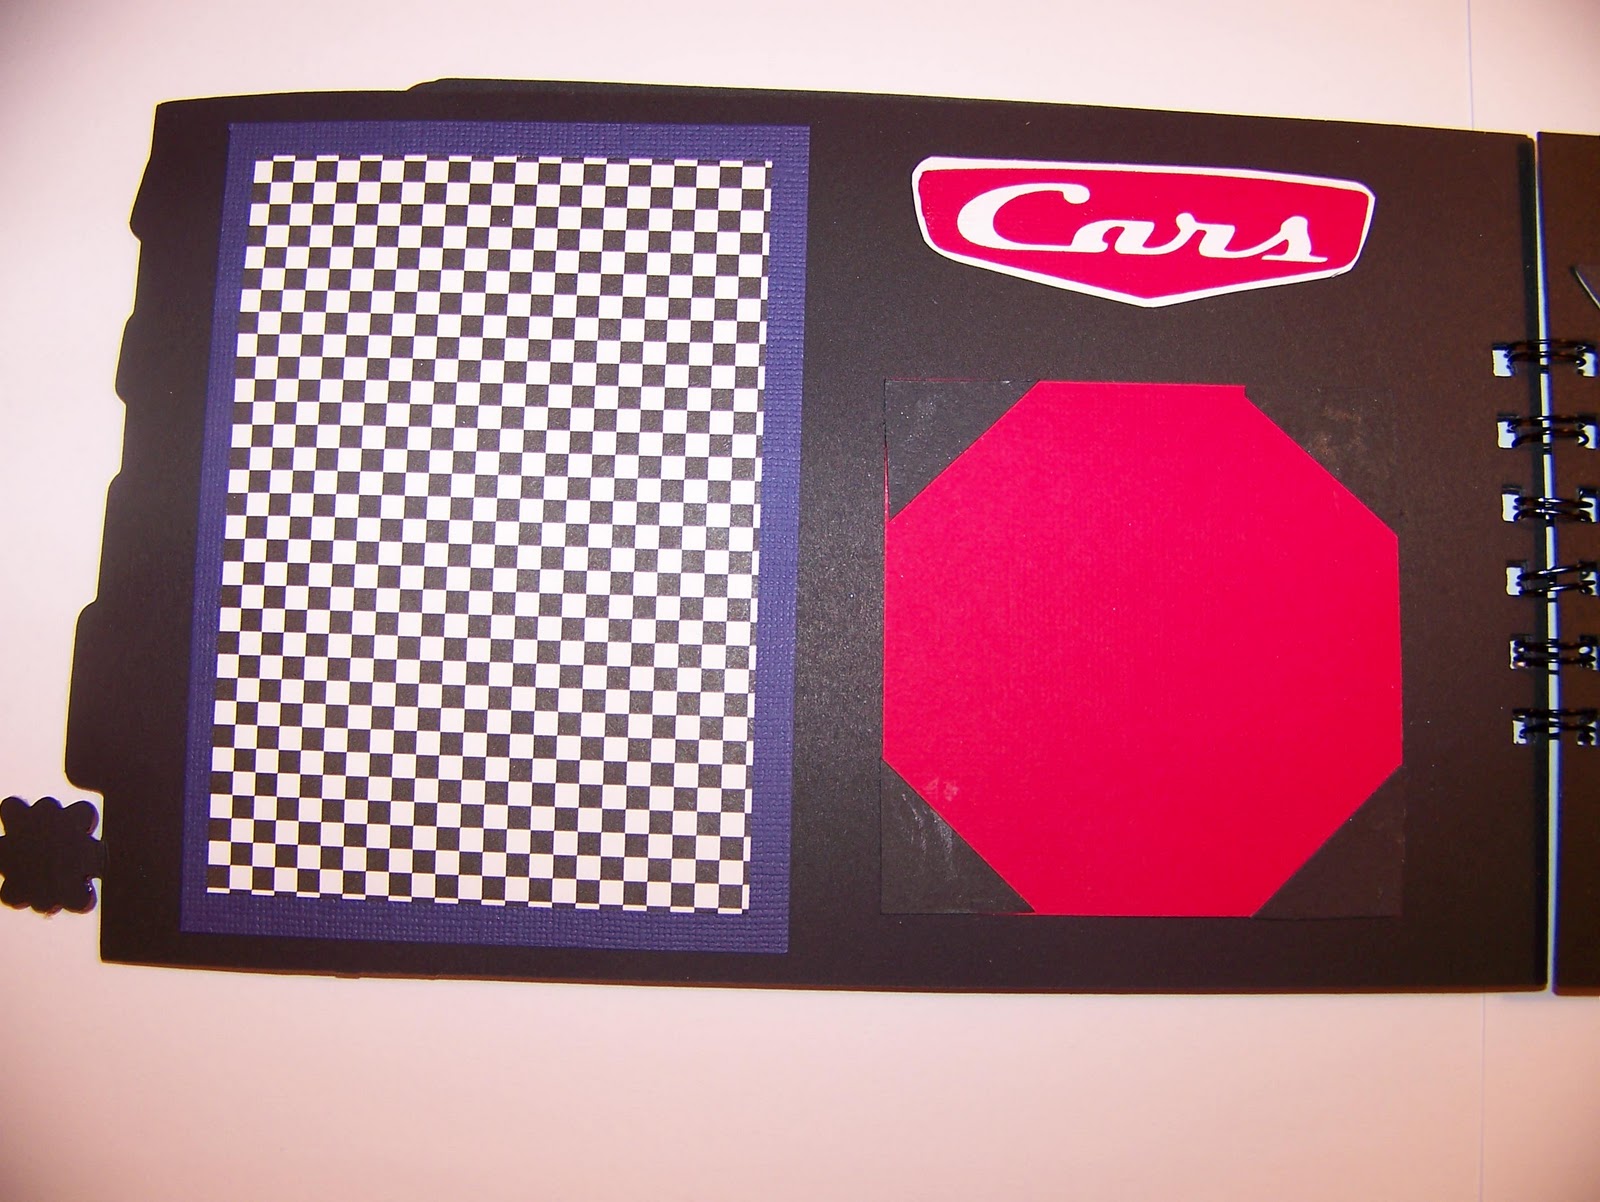
Now! On to my project. I am really proud of this, for two reasons - it was hard. AND it was the first time I had "designed" a book. I used Cricut Craft Room to weld words and blocks together to make different length pages, then sized the layered words to fit. I used the Cars cartridge for this project, and I have a few pointers for working with this:
- The designers who made this cartridge were brilliant. The characters really come to life as you piece them together. Save yourself the step of cutting out pieces in black and simply use a black background. Use a pen to mark in extra spaces if needed.
- The larger the cuts the better, mine were cut at 2.5 inches (Mater was cut at 4.5) and I did not find the pieces too small to work with, but I could see how some could.
- Use chalk and glitter glue for small pieces instead of cutting them out.
- avoid using thick "premium" paper. I actually found that my cheapest, thinnest card stock cut the best for these itty bitty pieces!
- Have PATIENCE!
Well that's all for me today : ) Your next stop on the hop today is with the amazing Shelly http://kccroppers.blogspot.com
Have fun! Happy Hopping!
The Line Up:
Saturday
1.
If you get lost along the way here is the entire line up
2. Sharon- Sharon http://simplysweetbysharon.blogspot.com/ - ------NEXT-------
Show Me Your Craft Room Blog Hop!
Wow! A blog hop to make you clean your room! Now THIS was something I needed to get involved in!!! What a fun idea! I first want to thank Susan P for presenting this idea as I'm sure we'll all get a lot of great ideas today as we hop from room to room!
I feel that I should say though, that my room is fairly misrepresented here... it NEVER looks this clean. I am a MESSY scrapper. I throw stuff on the floor, I toss things around as I go, and when its that way, I can find EVERYTHING! When it's this way? I'll LOSE everything ; )
Here are some pictures of my room, beneith some of the pictures, you will find either small bits of information about what you see, or organizational tips I thought might be helpful to share. Thank you, as always, for taking the time to see me today - I am excited about the new friends I might make from today's hops and the new ideas I might get from all of this sharing!!
| My Sewing corner. |
| I sketch out layouts I like, then post them on this wall. When I'm making large albums, I use these to help me get the process going faster. |
| Wire paper organizer to the left, lots of pics on the wall : ) plastic peg board kit I got from Wal Mart - I love to hang my scissors, new stickers, adhesives, etc on this wall. |
| This is a remainted and re-purposed spice rack. |
| I keep my supplies in boxes by type, and label them with things like paint stuff, glitter stuff, sticky stuff, pens, rub ons, mats, tags, stamp stuff, Cricut Stuff, etc. |
Thanks for coming by today! Next on this hop is Raven's Room! Enjoy!
Blog Hop Line Up:
Susan - http://www.itsmesusanp.blogspot.com
Carol - http://cardstockscissorsandglue.blogspot.com
Jamie - http://jmecreations.blogspot.com
Jeanine - http://scrappinwithjc.com
Lisa - http://lisa-craft-blog.blogspot.com
Courtney - http://keekerzcrafts.blogspot.com
Heather - http://www.operationcricutdesign.blogspot.com
Raven - http://love4stamps.blogspot.com
Kassidy - http://inkingitupcrazy.blogspot.com
Holly - http://hollys-hobbie.blogspot.com
Linda - http://www.themomentsbylinda.com/
Liz - http://www.lizspaperloft.com/
Ellen - http://cardmonkey-business.blogspot.com
Deb - http://craftydeb-ddscrafts.blogspot.com
Carol - http://cardstockscissorsandglu
Jamie - http://jmecreations.blogspot.c
Jeanine - http://scrappinwithjc.com
Lisa - http://lisa-craft-blog.blogspo
Courtney - http://keekerzcrafts.blogspot.
Heather - http://www.operationcricutdesi
Raven - http://love4stamps.blogspot.co
Kassidy - http://inkingitupcrazy.blogspo
Holly - http://hollys-hobbie.blogspot.
Linda - http://www.themomentsbylinda.c
Liz - http://www.lizspaperloft.com/
Ellen - http://cardmonkey-business.blo
Deb - http://craftydeb-ddscrafts.blo
Saturday, October 29, 2011
Scrapbook Saturday with Erica's Cricut Craft Room!
Welcome to another Scrapbook Saturday with Erica's Cricut Craft Room Design Team! Once you are done checking out my layout, hop back over to My Cricut Craft Room for more scrappy inspiration! And if you want to be temped... click on Erica's shop link for some awesome Cricut deals!!
This week's page is about my son, Alex. My goodness is he silly. And the kid won;t sit still for a picture, if he does, he's making a face. And I'm ALWAYS catching him in the act of doing goofy stuff like what is captured in these pictures. Letters are cut using Opposites attract (silly) , Ashlyn's Alphabet (quirky), and Alphalicious (happy, fun).
As always - thanks for looking! Have a great day!
This week's page is about my son, Alex. My goodness is he silly. And the kid won;t sit still for a picture, if he does, he's making a face. And I'm ALWAYS catching him in the act of doing goofy stuff like what is captured in these pictures. Letters are cut using Opposites attract (silly) , Ashlyn's Alphabet (quirky), and Alphalicious (happy, fun).
| Thermoweb pop dots behind fun for dimension. |
| Thermo web pop dots behind "happy" for dimension. |
| Chalked over white paper. |
As always - thanks for looking! Have a great day!
Saturday, October 22, 2011
Scrapbook Saturday with Erica's Cricut Craft Room!
Hi! Welcome to Scrapbook Saturday hosted by Erica's Cricut Craft Room! If you came here because you are one of my followers, please stop back at Erica's page and check out the other fabulous pages from my Design Team Sisters! Erica also offers AWESOME deals on Cricut Cartridges... check out her shop by clicking here : )
Here is my page I wanted to share with all of you today. This was made for my honeymoon album chronicling our time on the amazing island of Oahu, Hawaii. I really wanted to show you these two pages to show off those hula girls. Aren't they CUTE!!!?!?!! LOVE them! Also, I wanted to share an idea about what I did with the tropical flowers for this book. I made a large number of cuts from several different sheets of patterned paper (all from the same book for consistency), and then just put them all together at random - different flower tops with bottoms, different papers, one with another - just whatever I thought looked good. I made tons of them and then used them as embellishments at will throughout the book, helping me to create a consistent theme. You'll see on one of the pictures at the end, that I used several flowers layered together to make a page border.
Like my Raven's nails? He he he. As always - THANK YOU for stopping by!
Here is my page I wanted to share with all of you today. This was made for my honeymoon album chronicling our time on the amazing island of Oahu, Hawaii. I really wanted to show you these two pages to show off those hula girls. Aren't they CUTE!!!?!?!! LOVE them! Also, I wanted to share an idea about what I did with the tropical flowers for this book. I made a large number of cuts from several different sheets of patterned paper (all from the same book for consistency), and then just put them all together at random - different flower tops with bottoms, different papers, one with another - just whatever I thought looked good. I made tons of them and then used them as embellishments at will throughout the book, helping me to create a consistent theme. You'll see on one of the pictures at the end, that I used several flowers layered together to make a page border.
Like my Raven's nails? He he he. As always - THANK YOU for stopping by!
Subscribe to:
Posts (Atom)